Ferret - A Hard Real-Time Clojure for Lisp Machines
Ferret is a free software Clojure implementation, it compiles a restricted subset of the Clojure language to self contained ISO C++11 which allows for the use of Clojure in real time embedded control systems. It has been verified to run on architectures ranging from embedded systems with as little as 2KB of RAM to general purpose computers running Linux/Mac OS X/Windows.
- Project Home Page
- Executable (Requires Bash and JVM)
- Standalone Jar (Requires JVM)
Unlike other Lisp implementations Ferret is specifically tailored for real time control applications, provides deterministic execution and gives you total control on memory management. (Achilles heel of high level languages for hard real time control). Ferret programs when running on embedded systems or in single threaded mode can be configured to run using a memory pool. This avoids calling malloc/heap at runtime, improves performance and determinism, you can also tell how much memory will be used at compile time.
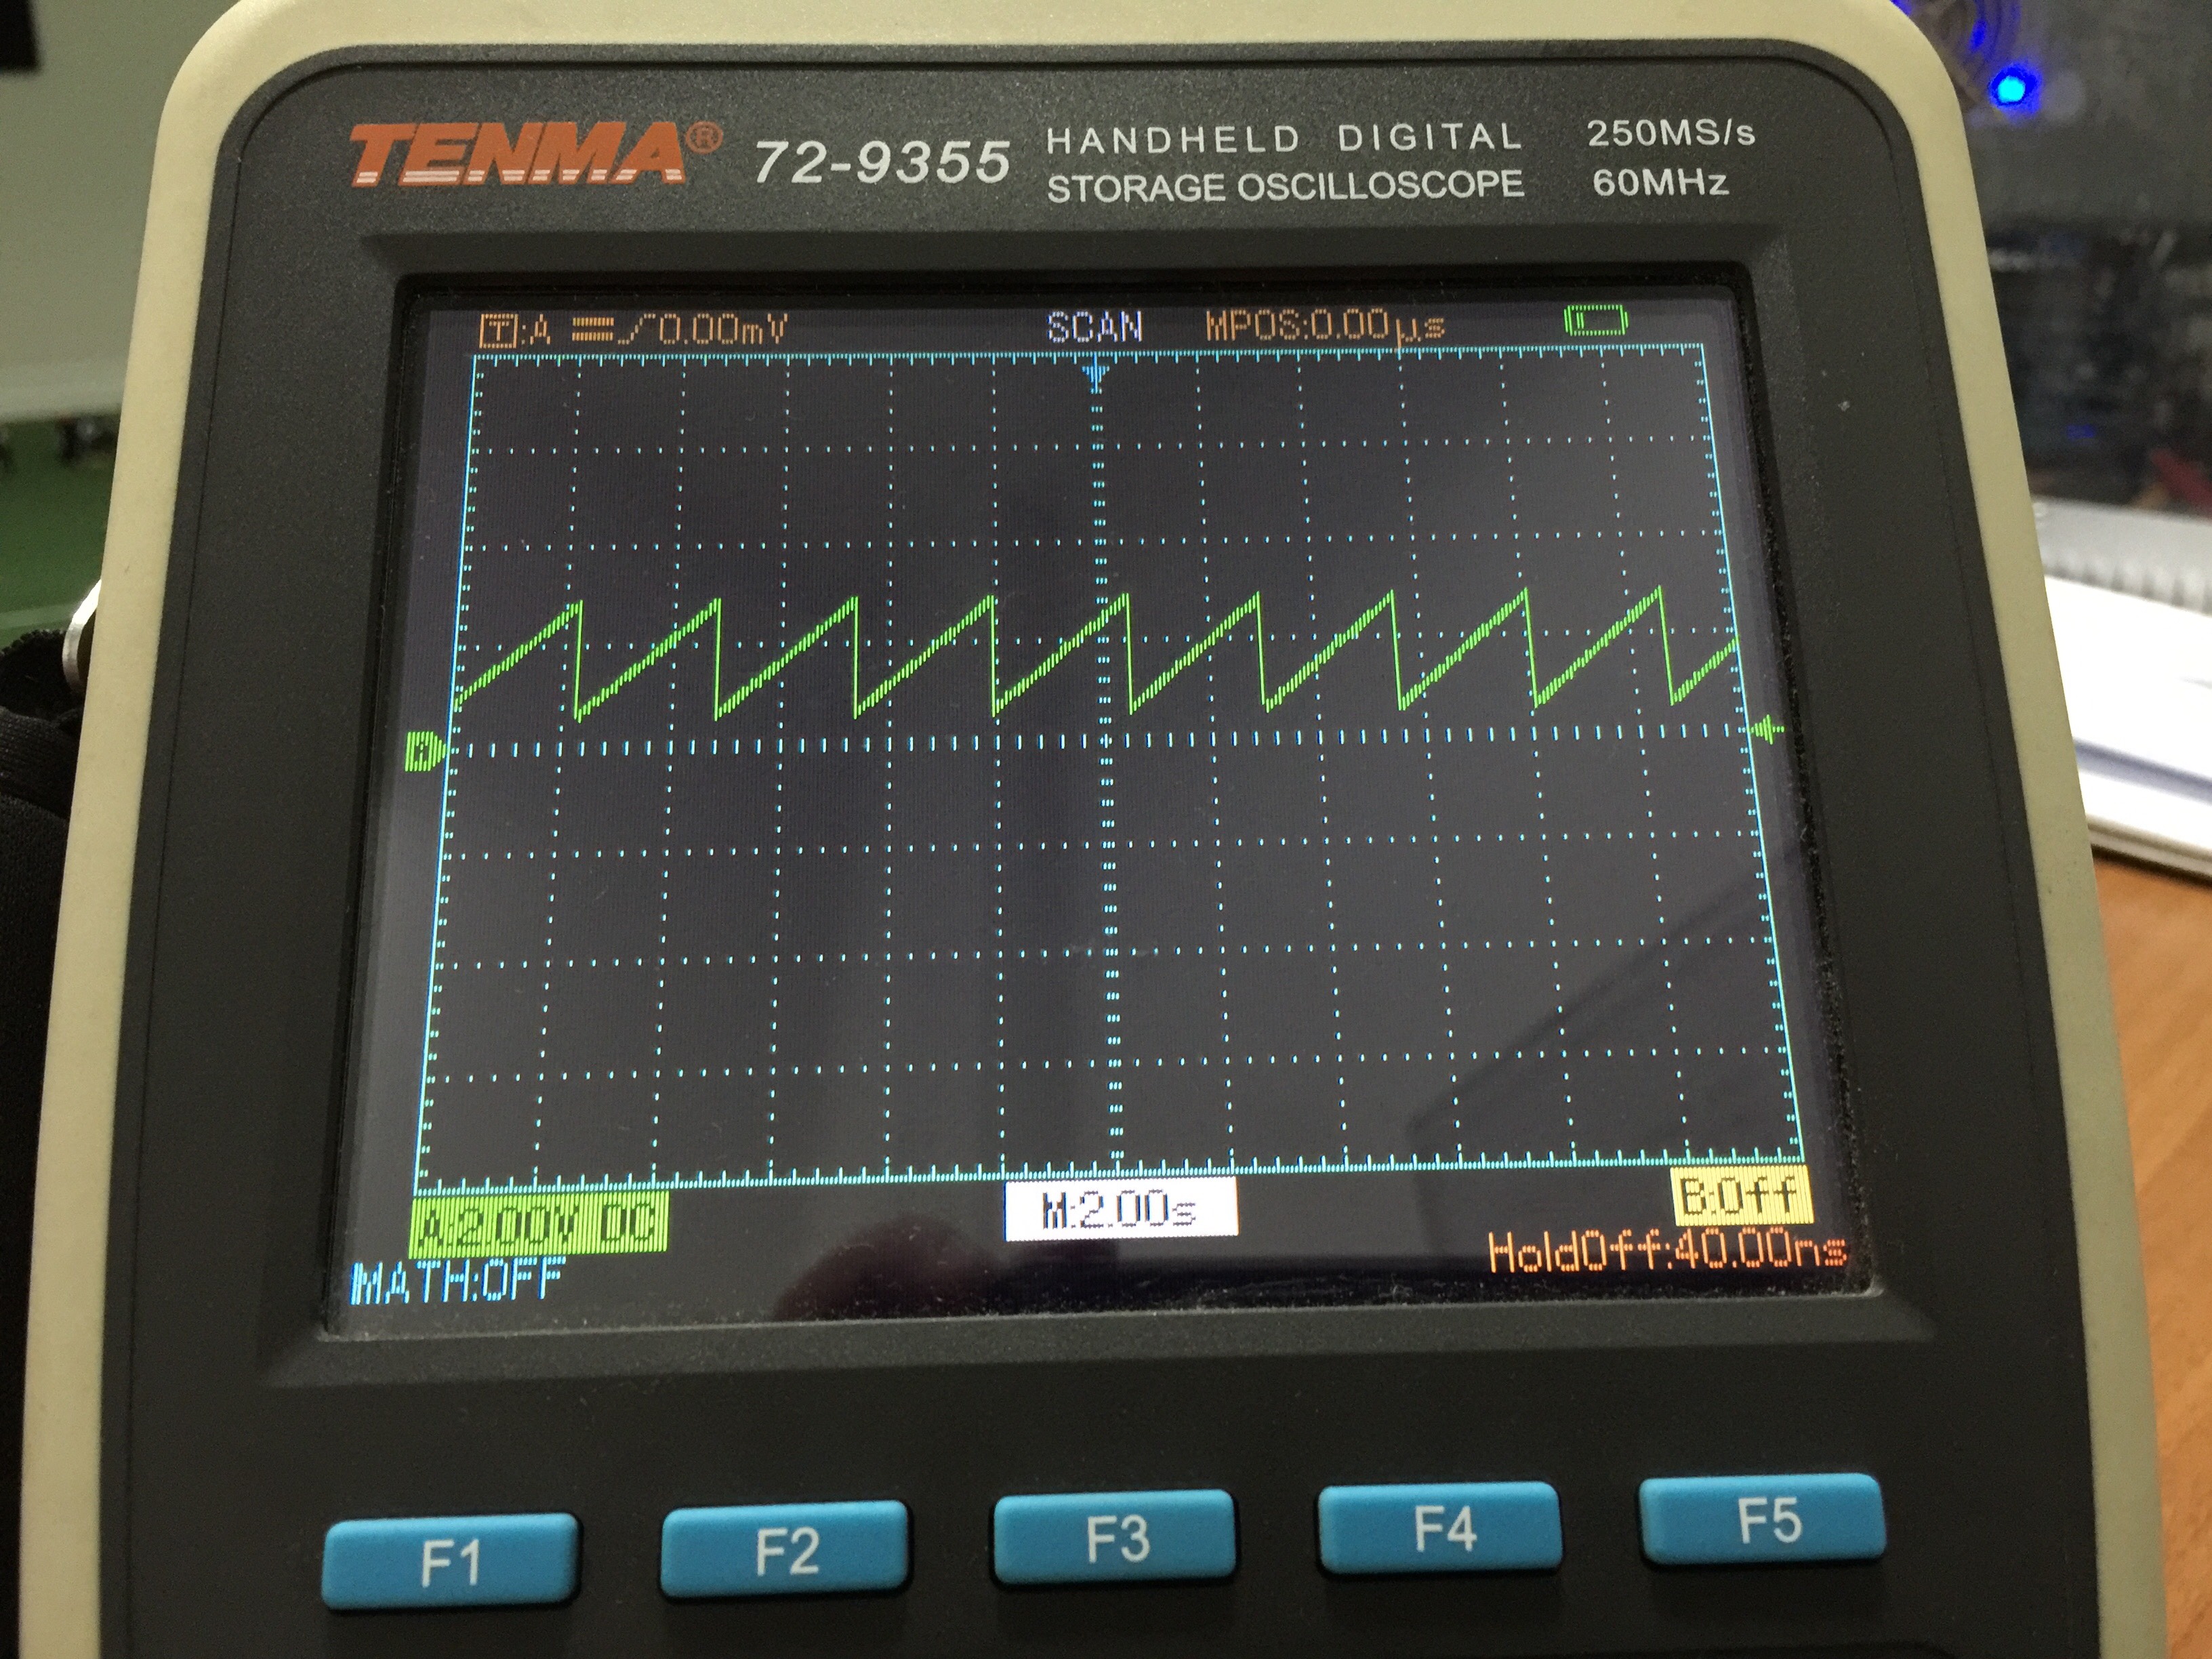
Starting with a simple example, following shows a simple Arduino Due example to generate a Sawtooth wave,
;; saw.clj
(configure-runtime! FERRET_DISABLE_STD_OUT true ;; Disable Serial
                    FERRET_PROGRAM_MAIN "signal()" ;; Main Entry for the application
                                                   ;; Ferret functions are C++ functors
                    FERRET_MEMORY_POOL_SIZE 512) ;; Allocate 512 Bytes of static memory

(require '[ferret.arduino :as gpio])

(defn dac-1 []
  "__result = obj<number>(DAC1);")

(defn signal []
  (doseq [sample (range 255)]
    (gpio/analog-write (dac-1) sample)
    (sleep 10)))
All functions mimic their Clojure counterparts the only thing that's different from Clojure is the dac-1 function. A function with just a string in its body is assumed to be a FFI call and the string is assumed to be native statement/s. In this case dac-1 function when called returns the value of DAC1. (Pin number of digital analog converter on Due.) In order to run the example on hardware just compile it using Ferret,
$ mkdir saw
$ ./ferret -i saw.clj
$ mv saw.cpp saw.ino
then upload as usual. Best way to experiment with Arduino and Ferret is to set the Arduino IDE to use an external editor in preferences and add the following to you Ferret program, (Overrides the compile command with mv by default Ferret uses g++ or the value of CXX environment variable to compile the generated code into binary.)
(configure-ferret! :command "mv saw.cpp saw.ino")
then you can just run,
$ ./ferret -i saw.clj -c
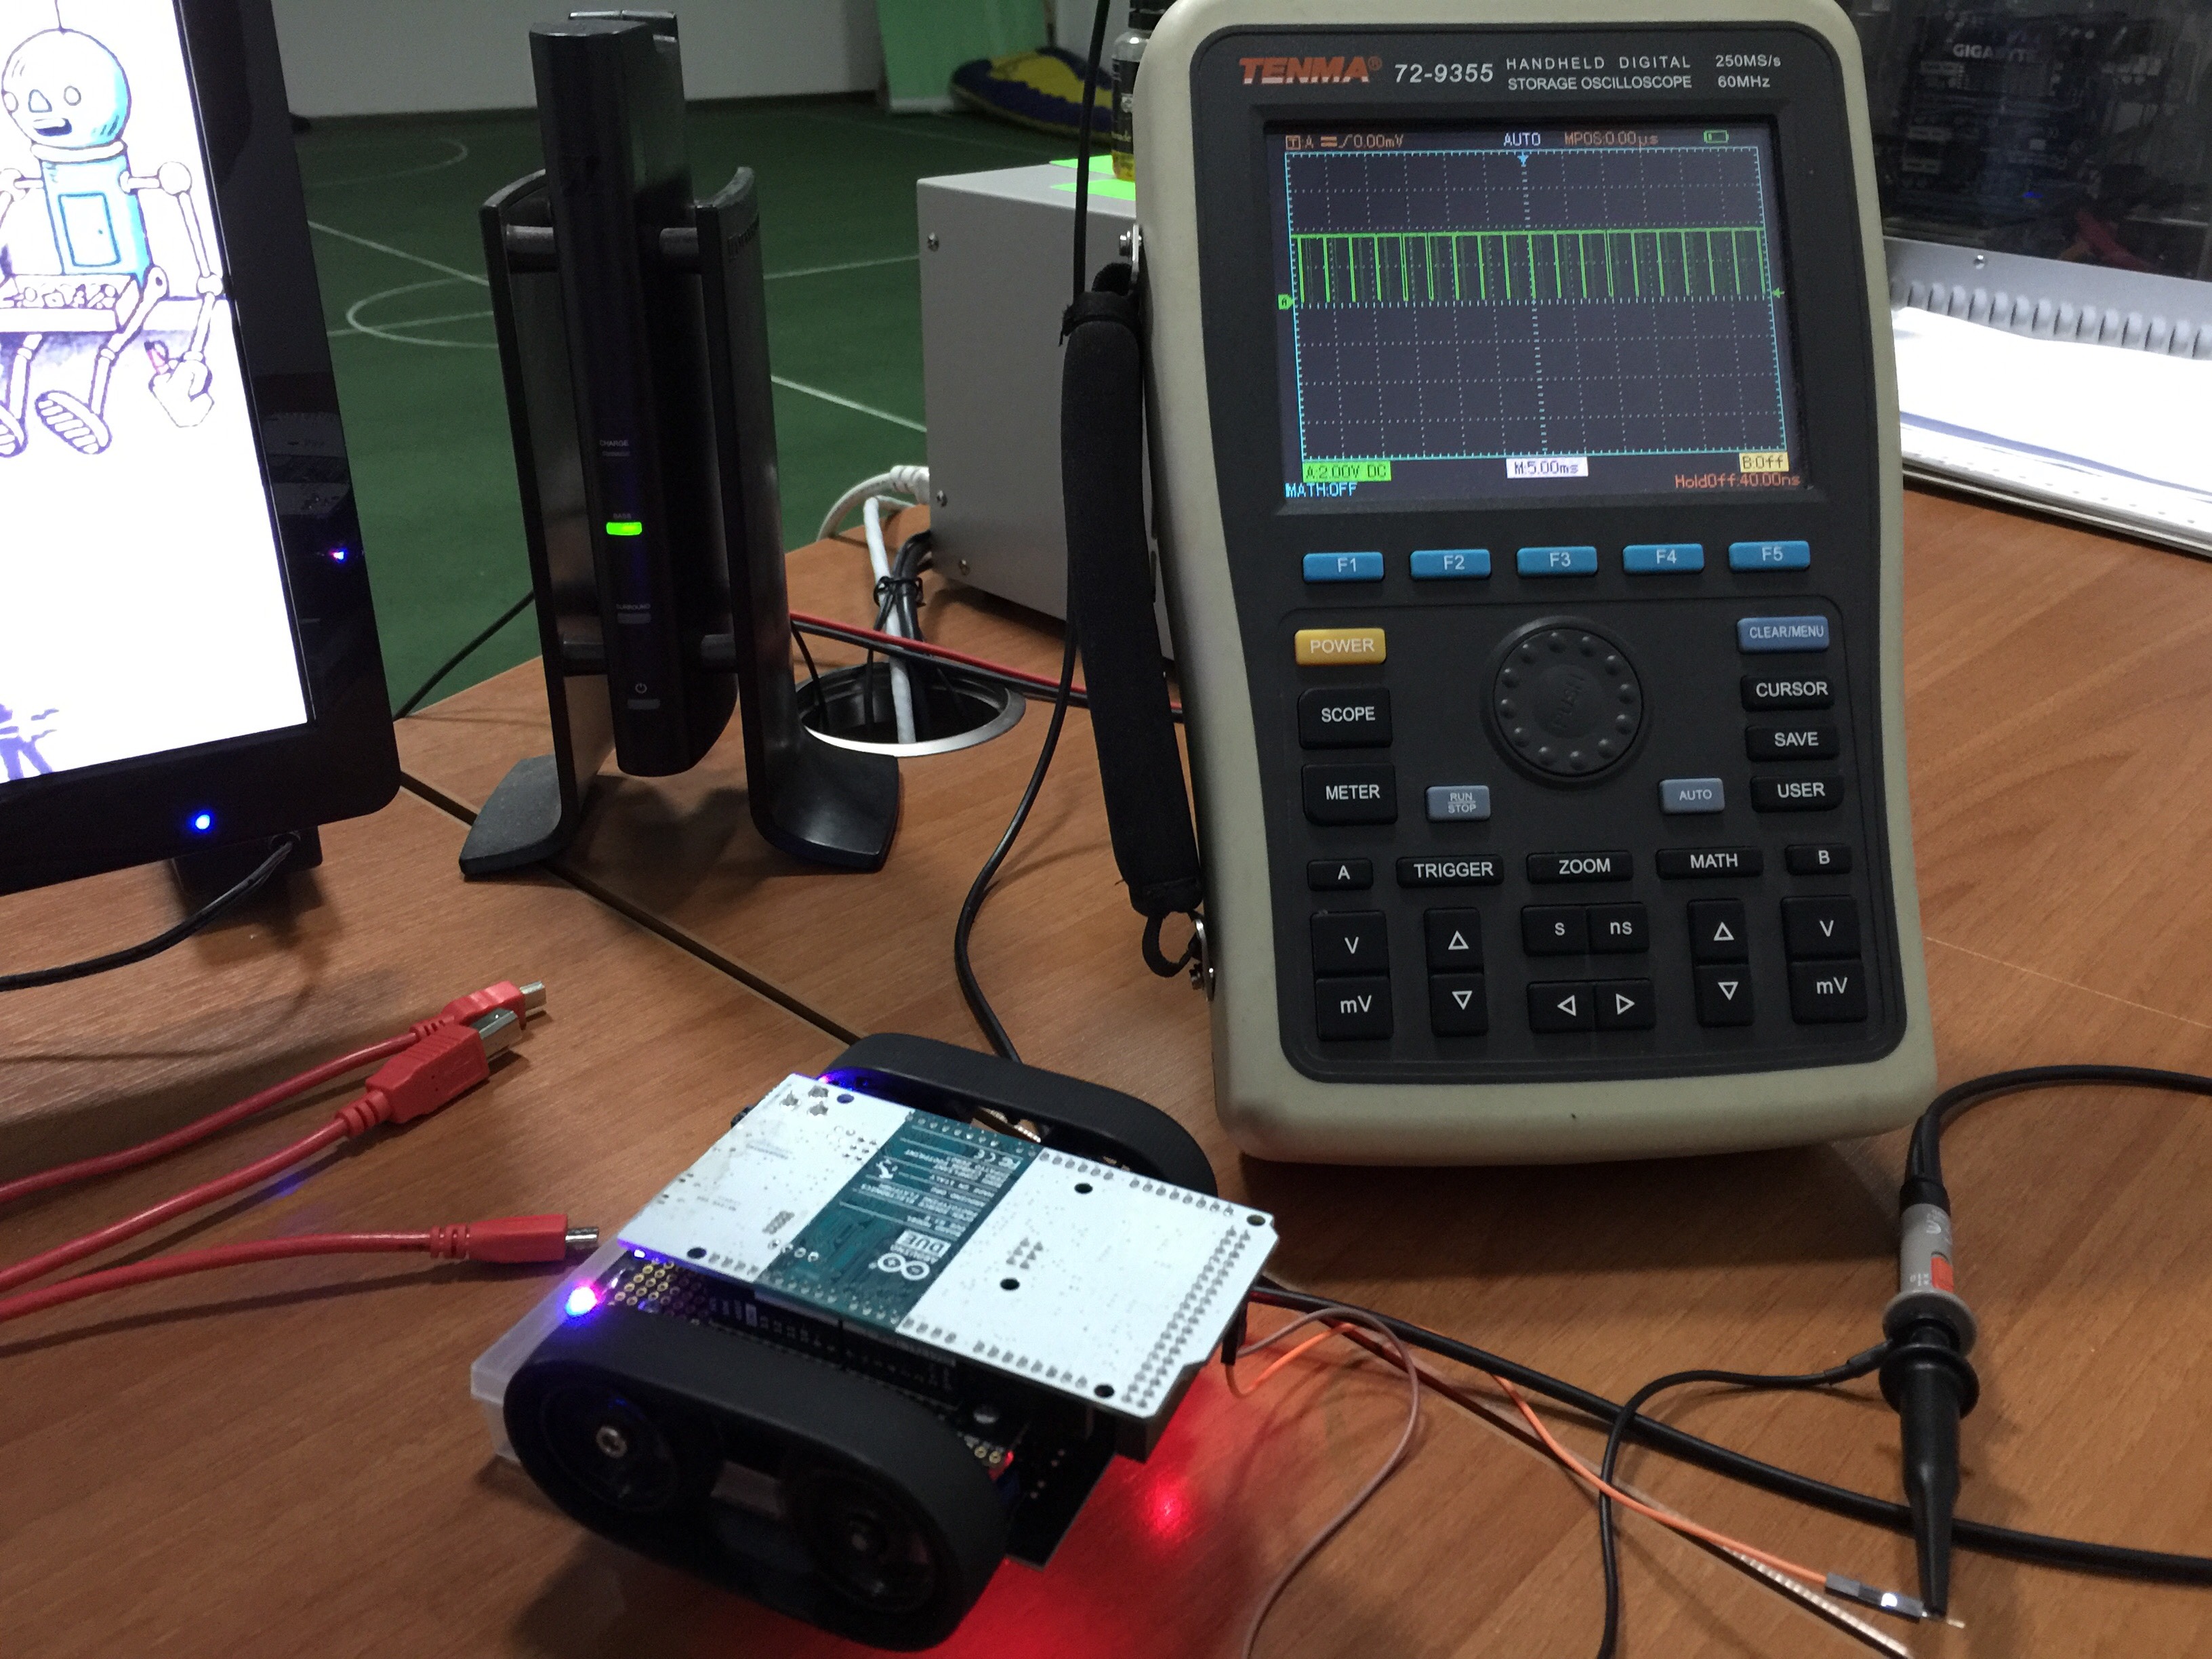
Arduino IDE will pick up changes automatically when you hit upload. Moving on to a more complicated example, a line following robot, following shows the built in primitives of Ferret for control (State Machines, PID Controller) and interfacing with third party C++ libraries using an Arduino Due and a Zumo robot platform.
(configure-runtime! FERRET_DISABLE_STD_OUT true ;;save memory
                    FERRET_PROGRAM_MAIN program ;; Default function to run.
                    FERRET_MEMORY_POOL_SIZE 1024) ;; Allocate 1kb Heap

(require '[ferret.arduino :as gpio])

;; Inlucde Third Party Headers
;; https://github.com/pololu/zumo-shield
(native-header "QTRSensors.h"
               "ZumoReflectanceSensorArray.h"
               "ZumoMotors.h"
               "Pushbutton.h")

;; Initialize Hardware
(native-declare "unsigned int line_buffer[6];
                 ZumoReflectanceSensorArray line_sensors;
                 ZumoMotors zumo_motors;
                 Pushbutton button(ZUMO_BUTTON);")

(defn wait-button []
  "button.waitForButton();
   button.waitForRelease();
   __result = obj<boolean>(true)")

(defn button-pressed? []
  "__result = obj<boolean>(button.isPressed())")

(defn motors
  ([]
   "zumo_motors.setSpeeds(0,0);")
  ([c]
   "int corr = number::to<int>(c);
    zumo_motors.setSpeeds(400 + (-1 * corr), 400 + corr);")
  ([m1 m2]
   "zumo_motors.setSpeeds(number::to<int>(m1), number::to<int>(m2));"))

(defn read-line []
  "__result = obj<number>(line_sensors.readLine(line_buffer,QTR_EMITTERS_ON,1));")
Wrappers for Zumo Libraries needed to interface with the shield. All follow the same FFI convention explained in the first example.
(defn calibrate []
  (cxx "line_sensors.init();")
  (sleep 1000)
  (dotimes [i 80]
    (if (or (and (> i 10) (<= i 30))
            (and (> i 50) (<= i 70)))
      (motors -200  200)
      (motors  200 -200))
    (cxx "line_sensors.calibrate();")
    (sleep 20))
  (motors))
calibrate function is run when the robots boots up and used to calibrate the Pololu QTR Reflectance Sensors on the shield. cxx macro is a convenience macro for calling native code in place. It will define a fn and call it in place so,
is equivalent to,
((fn [] "line_sensors.init();"))
Next we define a PID controller. It takes the result of read-line, a number between 0 to 5000 depending on the position of the line under the sensor and returns correction that we are going to feed in to motors function that will keep the sensor at position 2500 which means the line is in the middle of the robot.
(def motor-controller (pid-controller :kp 0.75
                                      :ki 0
                                      :kd 1
                                      :set-point 2500
                                      :bounds [0 5000 -400 400]
                                      :continuous false))
A state machine glues all of the above together. fsm macro compiles a function, which when called will iterate through its transition states.
(def program
  (fsm
   (states
    (boot (motors)
          (gpio/pin-mode 53 :output)
          (wait-button)
          (calibrate))

    (follow-line (gpio/digital-write 53 1)
                 (->> (read-line)
                      (motor-controller)
                      (motors))
                 (gpio/digital-write 53 0))

    (stop (motors)
          (cxx "button.waitForRelease();")))

   (transitions
    (boot         wait-button      follow-line)
    (follow-line  button-pressed?  stop)
    (stop         wait-button      follow-line))))
Robot starts at boot state, where we wait for the user to press a button to start calibrating the sensors, when done we wait for another button press to transition into follow-line state where we read the current position of the line and feed it to the PID controller and feed the controllers result to motors function. After each iteration of follow-line we check if the button is pressed when pressed we transition into stop state otherwise we keep executing follow-line state. In stop state we stop and wait for the user to press the button again to continue following the line.
Pin 53 is used to produce to following oscilloscope output to show the jitter in the system.